Oh I miss posting nail arts! This morning, while I was doing the laundry, I was also prepping my nails in between the task for a nail art later in the day. I will have a contract signing on Monday and I thought of getting my nail polished.
I plan to wear my off-white casual dress. Again I will go for basic. I hope I don't bore you guys of basic things. Nothing is safest but to wear those colors especially with the nature of my work. There are times that I picked some colorful pieces out of my closet but ending up wearing grays, whites, blacks.

I decided to do a French tip with a twist. If you want to know how I did this, keep reading.
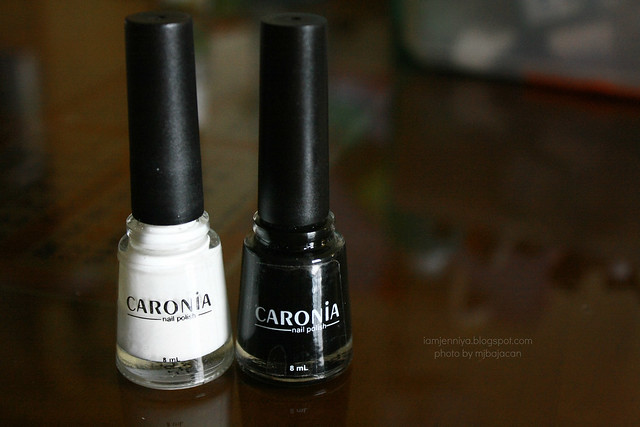
Step #1. Obviously, you know already the colors you need. I picked Caronia Regulars in White Satin and Black Velvet.

Step #2. Using the Black Velvet, line a tip. If you want it just this simple, put a top coat and you're done. It's up to you. But I opted to leave my one nail unpainted for a twist.

Step #3. Apply the White Satin onto your fore finger nail and then, draw a line just above the tip. You can make a clean and sharper line if you will use a scotch tape. I didn't use that option obviously. :)

Step #4. Using a nail art brush, I dipped it at Black Velvet and draw slanted stripes onto the white one.

Step #5. Then, I added flower design for more fun. Again, this is optional. Using a toothpick, I dipped it at Black Velvet and made 5 dots. Connect the dots to the center to make it a flower. Add some dots on the sides. Then make a dot at the center of the black flower using the White Satin.

Step #6. Apply your favorite top coat. You're done!

French tip with a Twist!
I hope you find this tutorial helpful. Try it. I swear it's so fun and easy to do.

No comments:
Post a Comment