Showing posts with label Stila. Show all posts

Thursday, 29 December 2011

Tutorial: Simple Everyday Make-Up


I posted the other day the ways on how I wore my basic white top and I came up with a simple make-up also to match with my outfit. Today, I am going to share with you the make-up tutorial on how I came up with this look. I actually just used two (2) color of eye shadows (a lighter shade and a dark shade) in this tutorial to justify the post title about a simple make-up.
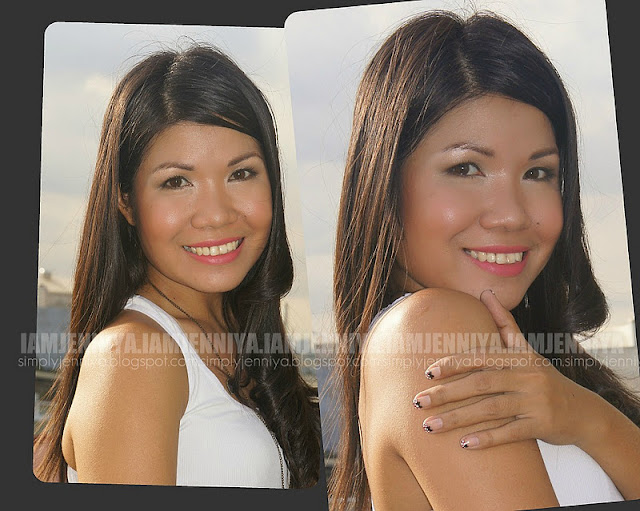
A Simple Make-Up

Here are some products I've used in achieving this look. 

The step-by-step instructions:
Step #1. I skip with the moisturizer because I used my Etude House BB Cream in Refreshing. I squeezed out from the tube a small amount only and using my slanted foundation brush, I applied it evenly onto my face.

Step #2. I set my BB Cream by applying my IN2IT two-way foundation over it using my powder brush.

Step #3. Eyelids!
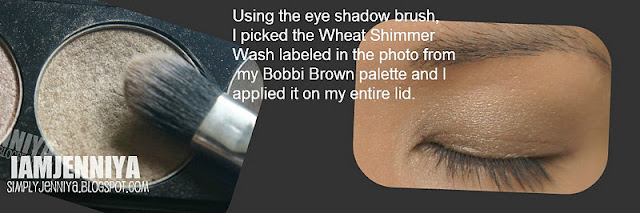
Apply the similar eye shadow color you have (it's like a mix of green & gray) using any small eye brush from the outer to the inner 3rds of your lower lash line.

Step #4. Crease!
Apply also any very dark brown eye shadow you have (provided it is matte) using a bullet brush from the outer to the inner 3rds of your lower lash line.

Step #5. Blend! Blend! Blend!

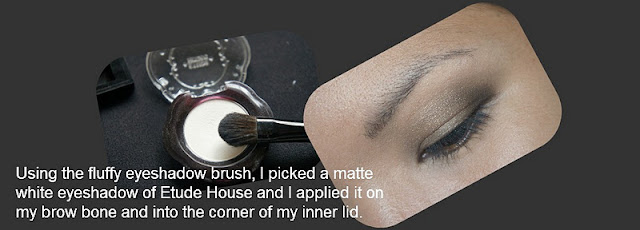
Step #6. Brow bone!
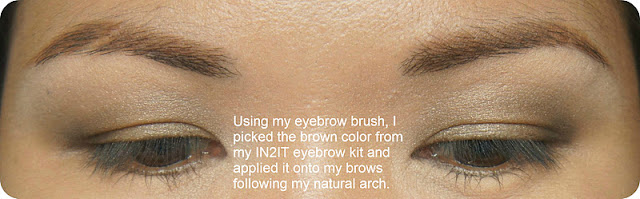
Step #7. Eye brows!
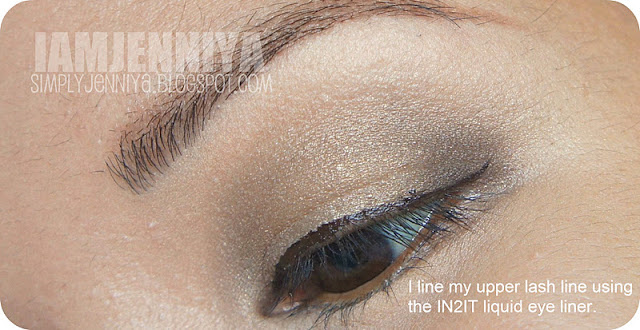
Step #8. Lash line!
Step #9. Contour!
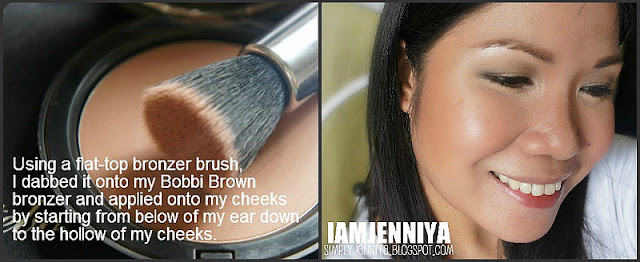
Then, bring it up by stroking at the sides of your face to create shadow that will give an illusion of slim face.. I also contoured my nose using a big eye shadow brush. Do not forget your jaw line also. To make it more natural, I stroke the remaining product in the brush lightly on my cheeks.

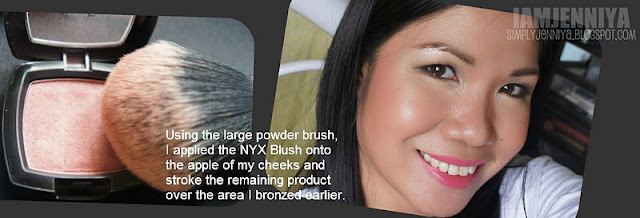
Step #10. Blush!
Step #11. I applied a very small amount of champagne eye shadow mixed with a Stila in Moonlight eye shadow onto the corner of my eyes to make my eyes pop more and to make my face look even brighter. 

Step #12. Curl your lashes and apply your favorite mascara. I used Maybelline Volum Express.

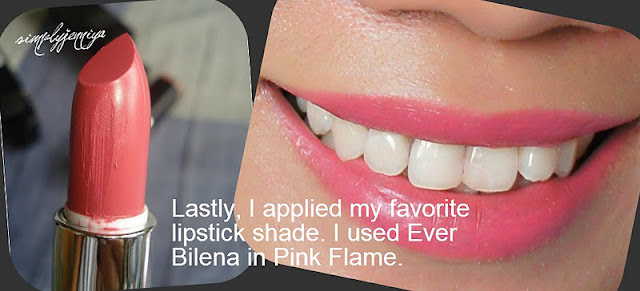
Step #13. Lips!
And you're done! Here are some bonus photos before I get my hair curled and get ready for the photo shoot with my hubby.
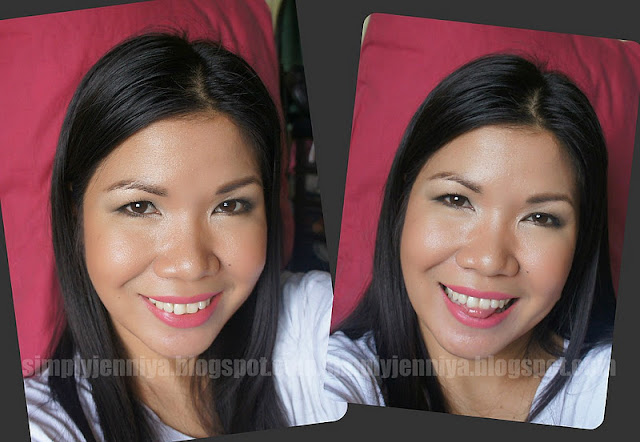
This make-up is perfect for an everyday wear to work. Skip the contouring and bronzing steps, I really find this make-up look just so quick and easy to do. Talk about NARCISSISM, I hope I didn't get you bored with all my faces. 

I hope you find my make-up tutorial helpful.

iamjenniya

Monday, 21 February 2011

Face It: BRIGHT SULTRY LOOK

So, what eye make-up should you wear with a gray dress? 

Believe me, if you are not confident enough in putting on your make-up like me especially in matching it with your outfit; you'll end up goggling for tips lol! Okay, so I found out that gray is a neutral color. Some said that you can wear any eye make-up, some said it's best to go for a smokey eye look, a purple look, a gray/ silver eye make-up, etc.

I end up with this look though:
 

The occasion I've attended to was held on daytime so I chose a more neutral look but sultry. Honestly, I received compliments with this make-up. It's so flattering most especially when the compliment came from my B's mom!

Bright Sultry Eye Make-Up

Products used:
Etude House Magic BB Cream in Refreshing
Bobbi Brown Stonewashed Nudes Palette
Etude House Single Eye Shadow in White
Stila Eye Shadow in Moonlight
NYX Blush in Spice
Wet n Wild in Retro Pink

Other products I've used but not in the photo:
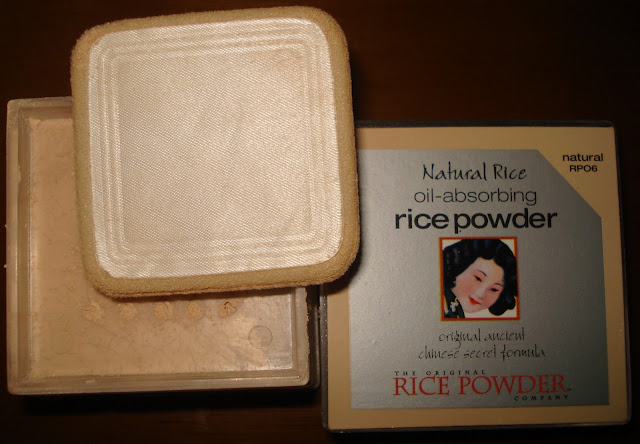
Natural Rice Oil Absorbing Powder
IN2IT Eye Brow Kit
Maybelline Volum Express Mascara
NYX Lip Liner in Rose
MAC Sheer Vision Gloss


The STILA in Moonlight did a lot of brightening in my eyes. I really love this eye shadow. I just used this in my inner corners and tear duct areas. It is so pigmented; creamy and very sparkly.

Smile always and stay tuned.


Jenniya


Sunday, 21 November 2010

Face It: Back In Birthday's Smokey Eye with Bobbi Brown + NYX + IN2IT


It's been quite a long time since I last posted. A lot of things are keeping me busy up to now and I got lazy to write any. But then, today is my birthday and I have the reason to write. Well, a year has added to my age and yeah, I'm not getting any young-er. But I don't hate it that I'm turning old-er today. Believe me hehehe.

I woke up so late today. And I don't have plans for my birthday actually. But my hubby calls for a treat. So, after eating our breakfast, I got myself prepared for this special day. Some of my friends already posted their greetings in my FB account. Well, I don't have so many friends I tell you hehehe. My hubby posted his sweet birthday greeting and he was one of the firsts who greeted me last night. Thank you so much to all who greeted me in my birthday.

Taken from my Sony Cybershot with Flash.


 Taken from my iPhone4 set without Flash.


I decided to blog the smokey eye I did today so that I will have even one (1) entry for this month of November lols! So, please bear with me again for my poor beauty blogging skills for this smokey eye tutorial.

Step 1.) 
I have oily skin (T-zone), so every time I wash my face, I used Clean & Clear Deep Action Clean Oil Control onto face. After that, I used Clean & Clear Oil Controlling Toner to minimize my large pores. Then, using the angled foundation brush, I applied the Etude House BB Cream (in Refreshing) onto face and neck. Using the large powder brush, I set my face with Natural Rice Oil Absorbing Powder in Natural RP06.
 

Step 2.) 
Using a concealer brush, I applied NYX Eye Shadow base onto entire lid of the eyes up to the brow bone. This is to enhance more the color of the eye shadow. Then, apply thinly to the lower lash line, too.

Step 3.) 
Using my Bobbi Brown Stonewashed Nudes Palette in Hot Stone (or any light brown or brown eye shadow), I applied it onto the lids using an eye shadow brush. After that, I picked NYX in Eggplant and applied it on top of Hot Stone. 
 
Apply this NYX in Eggplant on top of Hot Stone.

 Don't worry with the harsh edges and lines...
... because it will be soften down using the Eye Blending brush. Blend! Blend! Blend!

Step 4.) 
My eyes aren't that small but still I wanted it to look bigger. Using the Bobbi Brown in Espresso or any Brown Black or Black eye shadow, I used the eye blending brush to to pick the color and applied it to my outer-V.
Applied in outer-V.
Outer-V effect when eyes closed.


 See? It made my eyes look bigger. Agree?
Step 5.) 
Using medium-fluff eye shadow brush, I picked Navajo from Bobbi Brown palette or any highlighter or any matte white eye shadow. I applied it in my brow bone, down to the inner corner of my eye, then blend it with the edges of the eye shadows in the eyelid to soften the harsh lines.

Step 6.) 
Again, using medium fluff eye shadow, I picked Rock from Bobbi Brown palette or any gray/ silver eye shadow and applied it onto the eyelids on top of all the eye shadows applied. Make a blending motion. 

Step 7.) 
Using a flat eye liner brush, I picked Espresso again to line my lower lash line. Start from the outer line to the corner of the eyes.


Step 8.) 
To make my eyes more dramatic, I used IN2IT All Black Waterproof eye liner in my waterline up to the tear duct area. In my eye brows, I used Maybelline Eye Studio. I applied first the wax onto the brows following the natural arch of my eye brows and then, I applied the brow powder. 
 

Step 9.) 
I lined my upper lash line using the IN2IT black liquid eye liner and winged it at the end for a cat eyes look effect.

Step 10.) 
Using STILA in Moonlight, I picked a little using the tip of the eye blending brush and applied it in the corner of my eyes and then, I applied a little in my brow bone to make my eyes proportioned to the corner of my eyes and to make it look brighter. Curl your lashes. Then, I applied mascara using IN2IT All Black. I usually applied 2 coats. Apply your favorite pinkish blush-on. I used my Bobbi Brown in Pink Clay using a large powder brush.
 

Step 11.) 
And lastly, for my lips, I applied NYX round lipgloss in Ballerina. Then, you're done!

Here's more shots of my FOTD for this month.
 

My birthday celebration today was just indeed as simple as you might imagine. I and hubby went to SM North Edsa and Trinoma. We ate at Kangaroo Jack (my hubby's simple treat) hehehe. He bought a bag for me as his gift. Thanks much to hubby! Muah! Muah! I just love the way you make me happy through your simple ways.


Smile always and stay tuned.

XX,

Jenniya

Wednesday, 8 September 2010

Face It: Look Naturally Beautiful With Neutrals by Maybelline + Ystila + Nyx


Look Naturally BEAUTIFUL with Neutrals!

Today, I will share to you an FOTD I did last weekend. Using neutral colors resulted to a natural, bright make up that would be perfect to wear during daytime. Honestly, doing a natural, bright make-up would sometimes give me difficulties to have a nice result after. Lols! I'd rather do a Smokey eye make-up coz I find it easier to do since you can just put 1 or 2 dark eye shadows and blend it away, and then you're done hehehe.

Okay, so today, I really tried hard to make a tutorial for a natural, bright make up for my friend's request. She said she will try my FOTD for her every day's work. Remember, you just need neutral colors of eye shadow for this.

Here's what I used in this tutorial:

Apply Etude House BB Magic Cream onto face and neck;
Set your face with Natural Rice Oil Absorbing Powder 
(It will set accordingly to your skin color after a minute).
Define your brows. I'm using Maybelline Studio Eye Definist.
Apply NYX Eye Shadow Base prior to eye shadow application.
Using my Maybelline Expertwear Trio, I picked the lightest shade and apply it to my entire lid up to the brow bone.
Then, I picked the medium brown shade and apply it from outer part of my lid up to my eye socket. Do gentle strokes inward.
I picked the darkest shade in the Trio and make my outer-V. Feather inwards.
Note: I added more shade to make my outer-V darker.
Line your upper lash line using IN2IT Liquid Eye Liner. You can make one (1) thin line but then, I opted to make it looking thicker, so I made it a 2 winged line. It's your choice anyway.
Curl your lashes. Apply 2 coats of IN2IT mascara.
Brighten your eyes more using an Ystila eye shadow.
Apply it thinly in the corner of your eyes to make your eyes pop.
I am using Bobbi Brown blusher in Pink Clay.
Line your lips with NYX lip liner in Rose. 

You're done!


It's just so easy, right? This FOTD made me used my Maybelline Expertwear that has been in my drawers for ages now, lols! I accidentally broke the closing tap of it and so I just keep it then. Hahaha good thing I made this tutorial, I happened to see and realized some of the shades that are much worth to try for.

Here are some of the takes. 


Okay. I hope this tut (tutorial) helps and you enjoyed reading. More upcoming make-up tuts to post.

Smile always and stay tuned.

XX,

Jenniya